There are various ways to make the most exquisite leather for sale or as a hobby, and stamping will ensure your leatherwork looks unique. Stamping takes time and requires you to use the right tools. In this step-by-step guide to stamping leather, we will show you what you need for the best-stamped leather and how to make it.
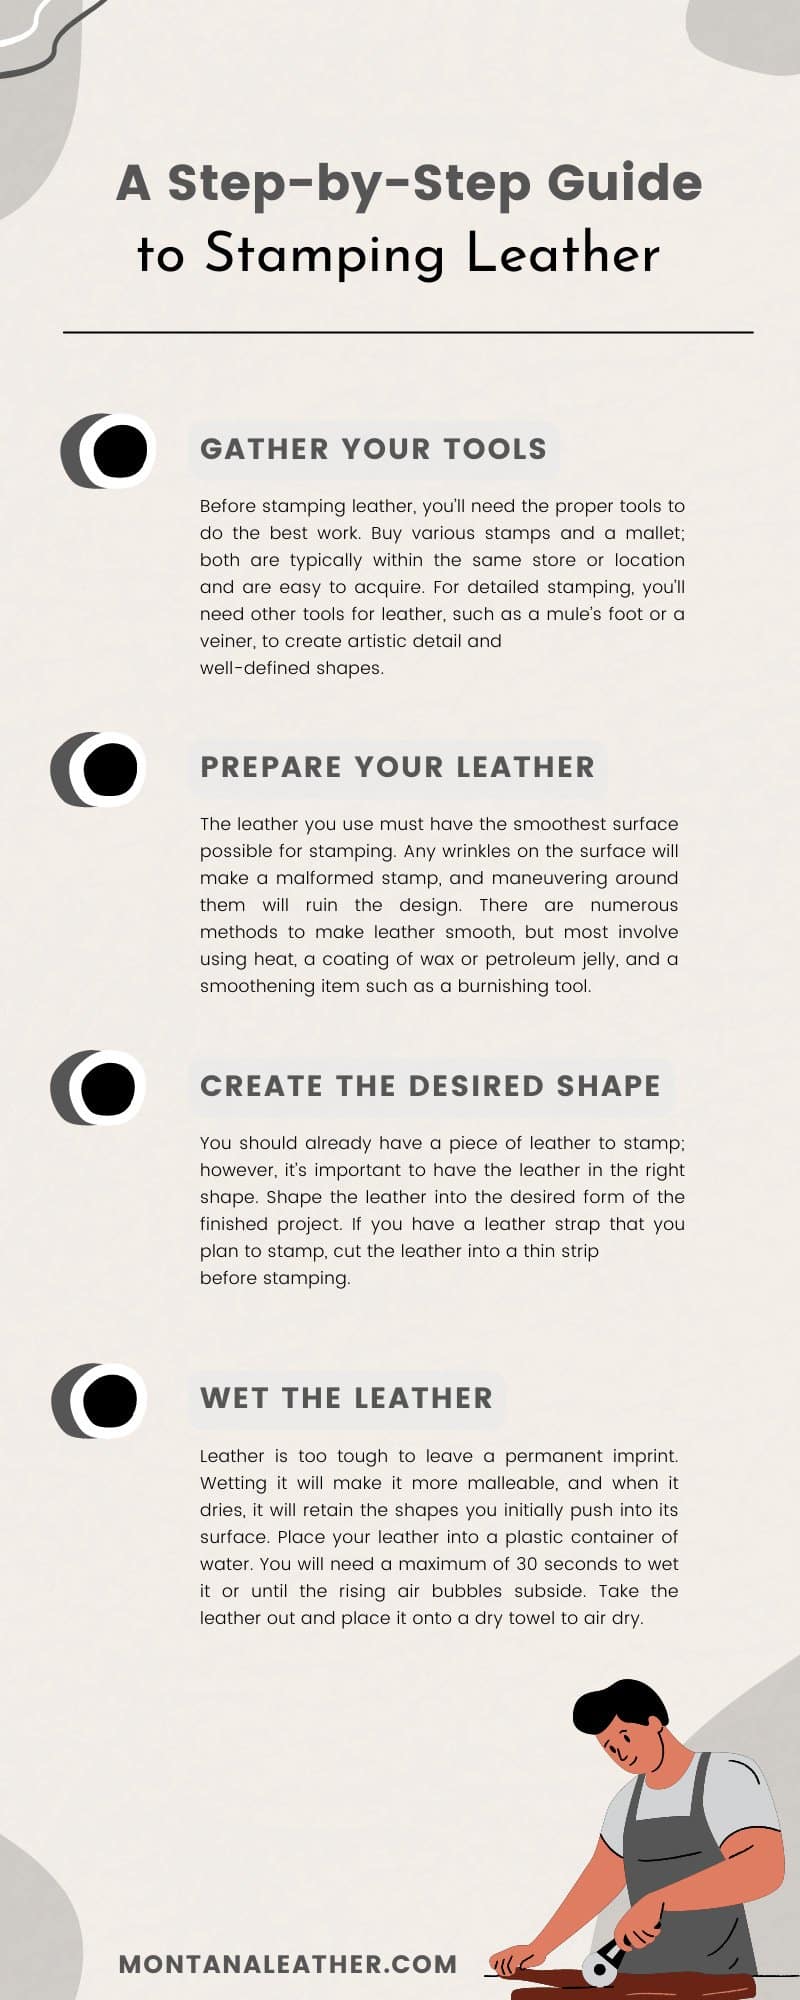
Before stamping leather, you’ll need the proper tools to do the best work. Buy various stamps and a mallet; both are typically within the same store or location and are easy to acquire.
For detailed stamping, you’ll need other tools for leather, such as a mule’s foot or a veiner, to create artistic detail and well-defined shapes. A plastic container to place the leather in for wetting (or simply a spray bottle if you’re short on time) and a clear surface to work are essential, along with a small sponge and a steel square for later steps.
Prepare Your Leather
The leather you use must have the smoothest surface possible for stamping, and must be vegetable tanned. Any wrinkles on the surface will make a malformed stamp, and maneuvering around them will ruin the design. There are numerous methods to make leather smooth, but most involve using heat, a coating of wax or petroleum jelly, and a smoothening item such as a burnishing tool.
Additionally, you will need to make sure that leather is cleaned and has any finishes removed. Various products, such as Fiebing’s deglazer, can assist you in removing a finish.
Create the Desired Shape
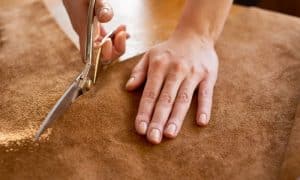
You should already have a piece of leather to stamp; however, it’s important to have the leather in the right shape. Shape the leather into the desired form of the finished project. If you have a leather strap that you plan to stamp, cut the leather into a thin strip before stamping.
For items with more folds and stitching, such as wallets, you will need to shape the piece of leather that will be the outer part before you stamp it. It’s easier to create a design on the leather when visualization isn’t a challenge. The leather will look better as you see how your stamps look on the final product.
Wet the Leather
Leather is too tough to leave a permanent imprint. Wetting it will make it more malleable, and when it dries, it will retain the shapes you initially push into its surface.
Place your leather into a plastic container of water. You will need a maximum of 30 seconds to wet it or until the rising air bubbles subside.
Take the leather out and place it onto a dry towel to air dry. The leather needs to be damp, not soaked, to stamp; feel along the surface every few minutes until a minuscule amount of moisture shows on your fingertips.
You may need to resoak the leather throughout your stamping since achieving accuracy requires you to go slowly. Use a sponge and dab the areas you want to press. Let the area dry after applying the sponge until damp enough to stamp.
Alternatively, you may quickly case your leather by simply spraying it with a water spray bottle. While some may argue that this is not the ideal way to case your leather, many beginners find it easier and less time-consuming to do.
Make Alterations Before Stamping
Before placing your first stamp, you’ll need to complete any alterations for the leather. If you need to make holes for a belt or leather tag, complete them before stamping to create boundaries of where you shouldn’t stamp. If you’d like to mark your boundaries yourself, you can use a straight edge and a scratch awl to do so.
Stitch any portions or folds before stamping to avoid making mistakes. It’s possible to make alterations after applying stamps, but having them in place will ensure you’re accurate when stamping and making designs on the surface.
Place the Leather on a Smooth Surface
When stamping leather, you need a smooth surface to prevent the impression from becoming lighter or deeper and to avoid an impression on the other side of the material. Choose a solid surface, such as a table made of granite or hardwood, for your stamping project.
Line Up the Stamp
Stamping by hand takes precision and care. Eventually, you’ll become used to the precise placement of lining up the stamp to your target spot on the leather. When you begin stamping leather for the first few times, it’s best to use a steel square to align the stamp. Take your time, and don’t rush your stamping.
Once you stamp the leather, it will become a part of the surface, and attempting to fix it will take considerable time and could make the leather look worse. Use the steel square to measure where you need to stamp. If you plan to make patterns, the tool will ensure you space out each imprint equally and in a straight line.
Use Light Controlled Mallet Strikes
Your mallet is the driving force behind your stamp and will ensure you leave a permanent improvement. While it’s tempting to strike at the stamp with full force, it’s better to use light, controlled taps.
Stamping is a precise process and requires considerable control for the best results. Follow a rule of three and tap with the mallet a few times while checking between each tap.
Flick your wrist downward with the mallet; the weighted end will handle the driving force. Ensure the stamp is vertical, as you use the mallet for a clear image on the surface.
Once you finish using your stamps for the leather and you’re satisfied with the result, move on to the tools that provide finer details. As previously mentioned, you’ll need other tools, such as a mule’s foot or veiner, to achieve a more artistic look. These are only two other tools for leather stamping, and many more are available to help you bring your work to life.
The mule’s foot will make a U-shaped imprint, making it great for lines and sharp corners. Use the mule’s foot for making fish scales, feathers, and floral patterns in your leather. The veiner stamping tool makes a shape similar to a smile with small jagged points.
This tool makes great veins for flowers and ruffled edges for images. The finer details will ensure your leatherwork looks more artisanal and carefully crafted. Many people love crafted materials with excellent detail, and you’re sure to sell your work quickly when you use these tools.
Additional Tips for Leather Stamping
Mistakes are common and acceptable during your first time stamping leather. However, it helps to have some tips and tricks to make the process easier. Before you begin stamping, practice using a few scraps of leather.
Knowing what the imprint will look like will help you understand how much you need to tap the mallet—practice using stamping tools with paint and paper. You’ll see how to manipulate the shapes they leave to make an artistic image, and you’ll save resources by practicing on other surfaces besides leather.
Stamping is a delicate process, and knowing how to stamp leather will bring out the greatness of your leatherwork. Use this step-by-step guide to stamping leather for future projects until you have the skill to stamp it naturally and use your creative mind.


You must be logged in to post a comment.